Lab 2a: Add Your User, Install and Verify Netskope Client
Estimated Time: 10 minutes
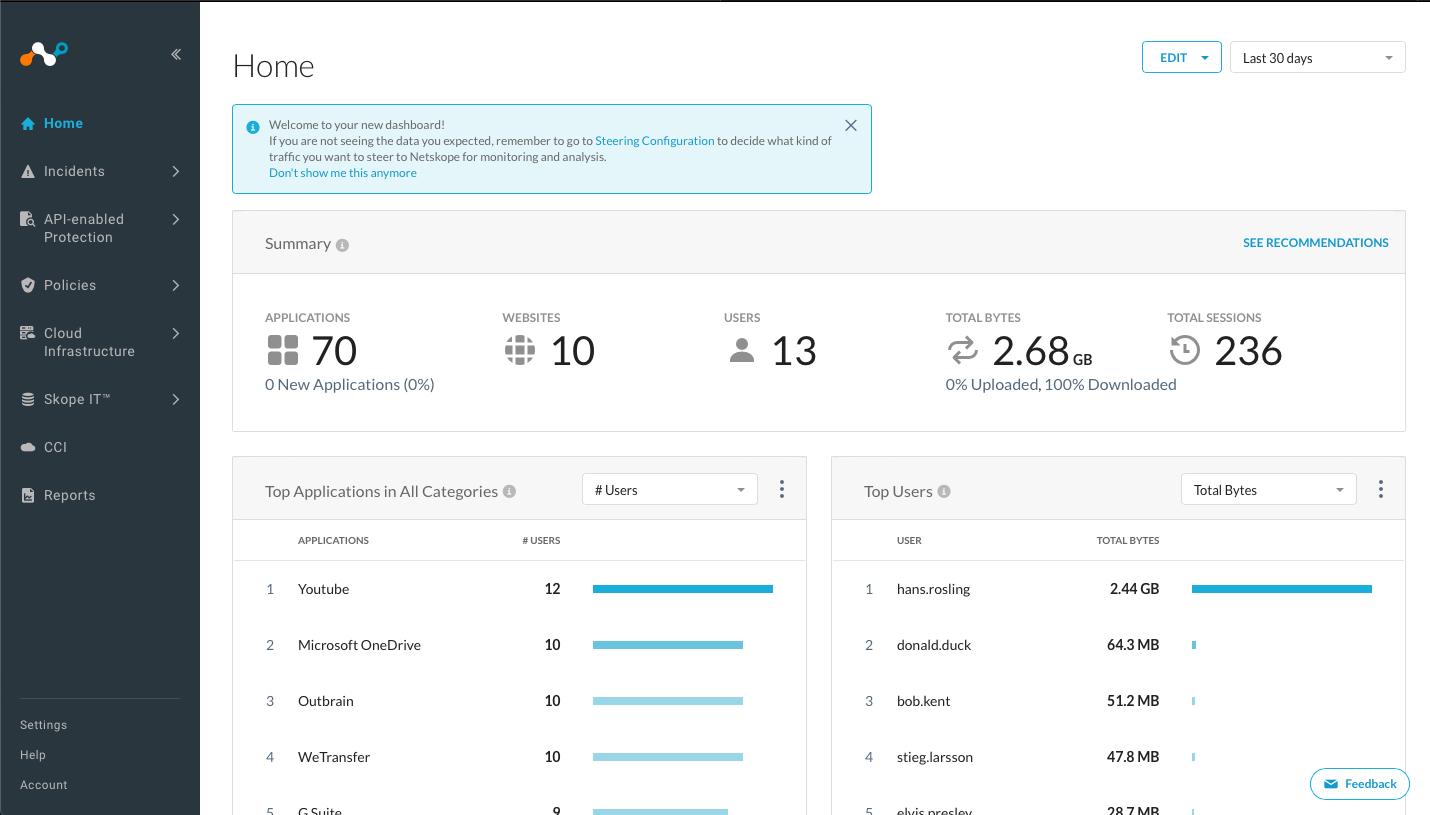
Step 1 Navigate to the "Home" page of your Netskope tenant and click "Settings" in the lower left-hand corner.
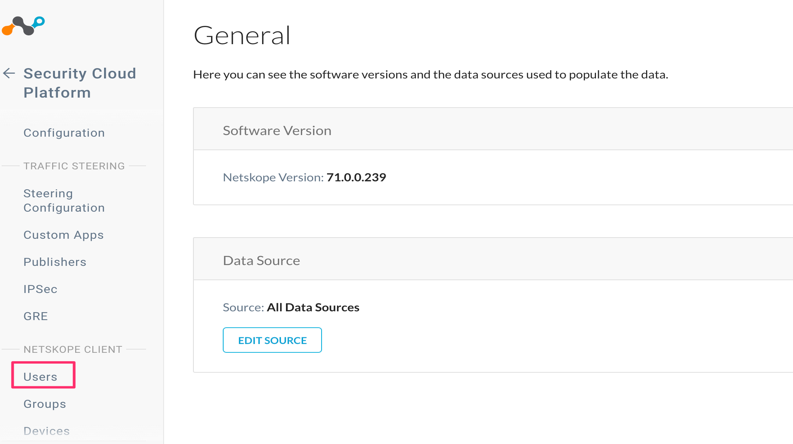
Step 2 Navigate to Security Cloud Platform > Netskope Client > Users.
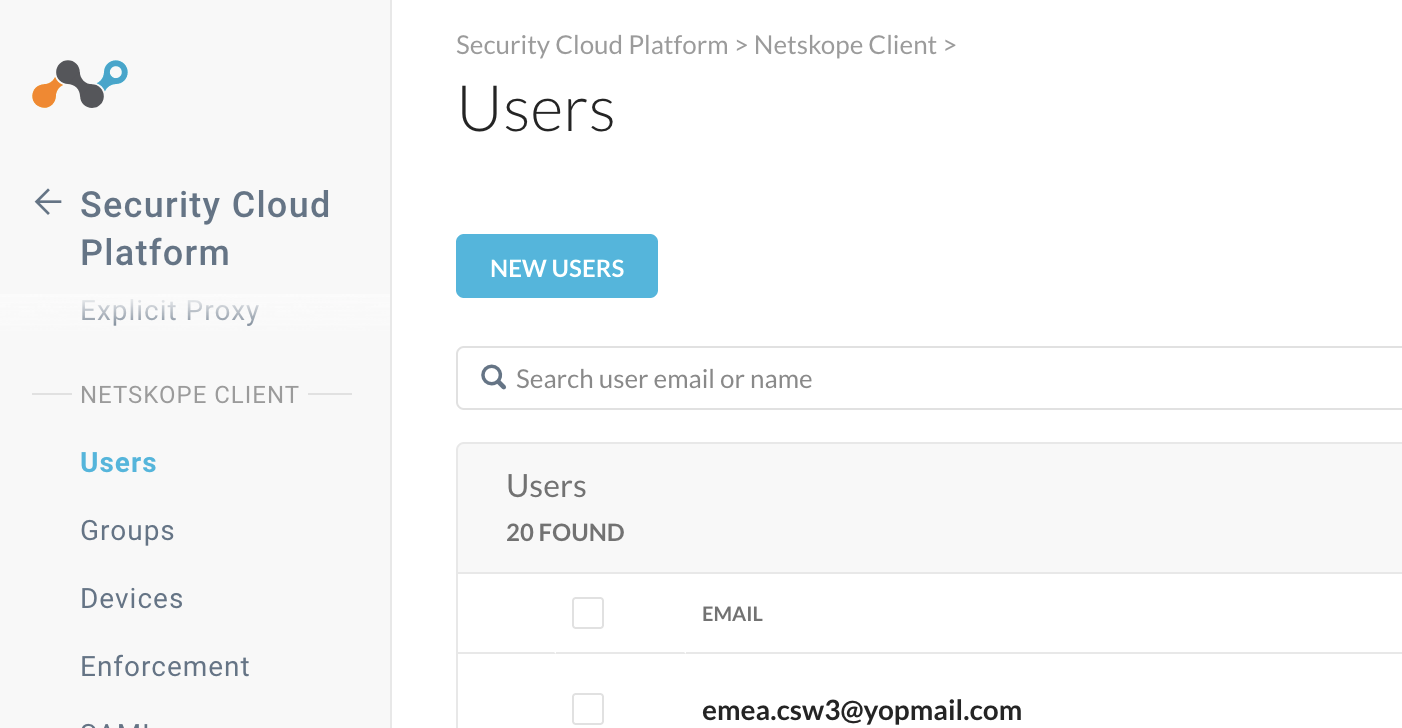
Step 3 Click New Users in the upper left.
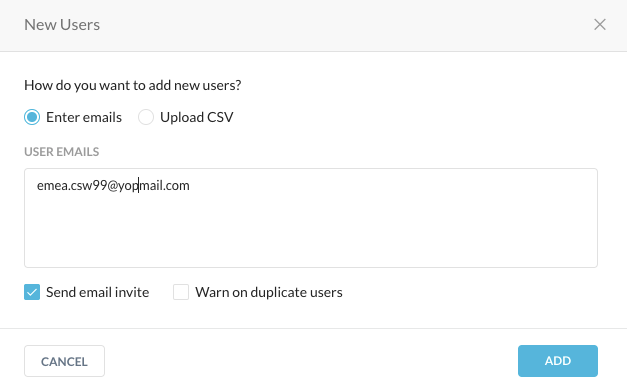
Step 4 Enter the following emea.csw[x]@yopmail.com email address you have been assigned in your workshop confirmation and click the Add button.
Step 5 Check your trashable email account on [https://www.yopmail.com] for the enrollment email from Netskope Onboarding <onboarding@netskope.com>.
Step 6 Open the enrollment email and click the appropriate OS client link for your computer to download the client and then "Download".
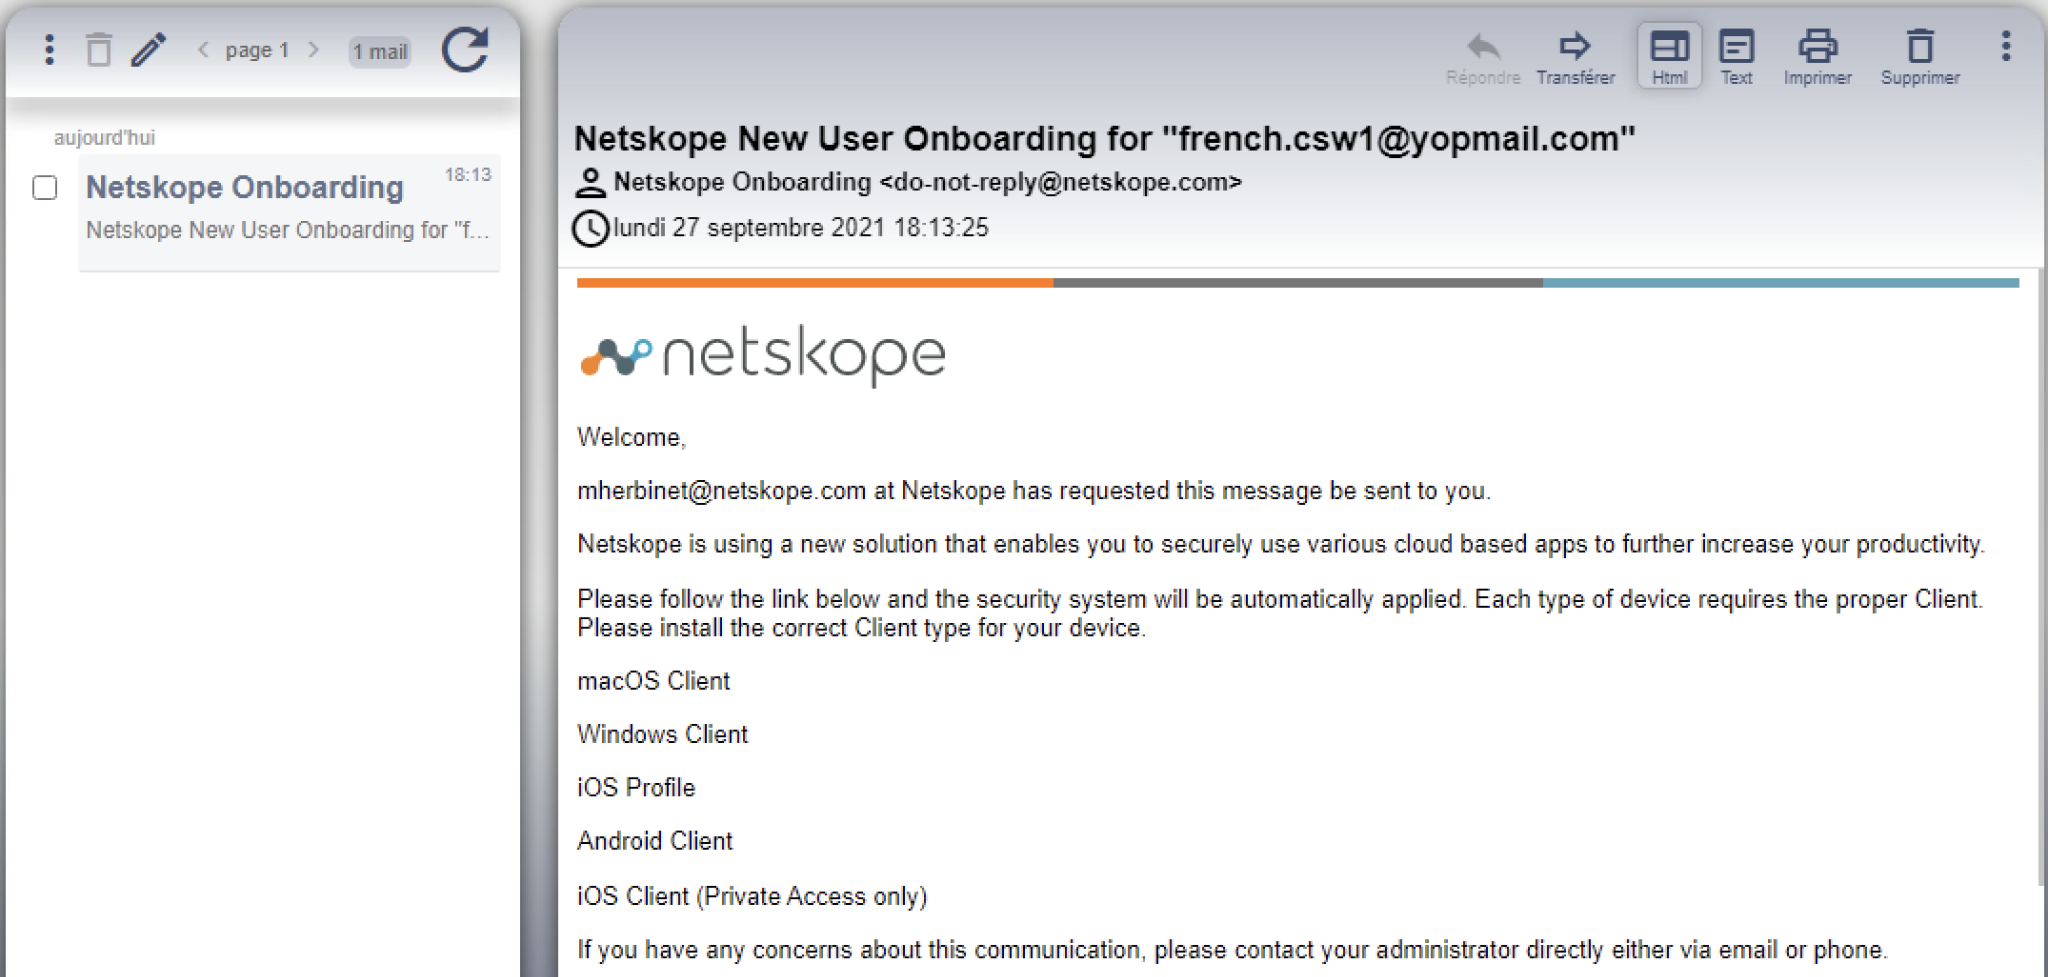
and PLEASE DELETE this email from yopmail (even though there is no real security concern).
Step 7 Follow the on-screen instructions to run the client installation. Click Run to approve.
It is NOT necessary to reboot the computer after installation completes.
However, Firefox may require to be restarted.
Step 8 You can close this browser tab.
Step 9 Using your web browser access [https://www.netskope.com]
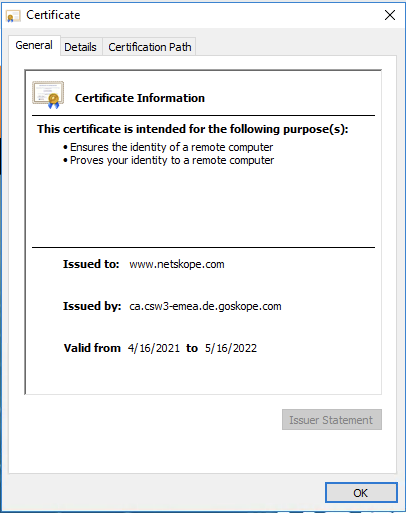
Step 10 Click the lock icon in the URL field to see if the certificate actually came from *.goskope.com. This means the traffic is decrypted by Netskope, secured and then re-encrypted to the final destination server.
Step 11 Try [https://notskope.com] to verify which Netskope DC you are connected to. It may not be the same as in the screenshot below, but it must point to somewhere close to you.
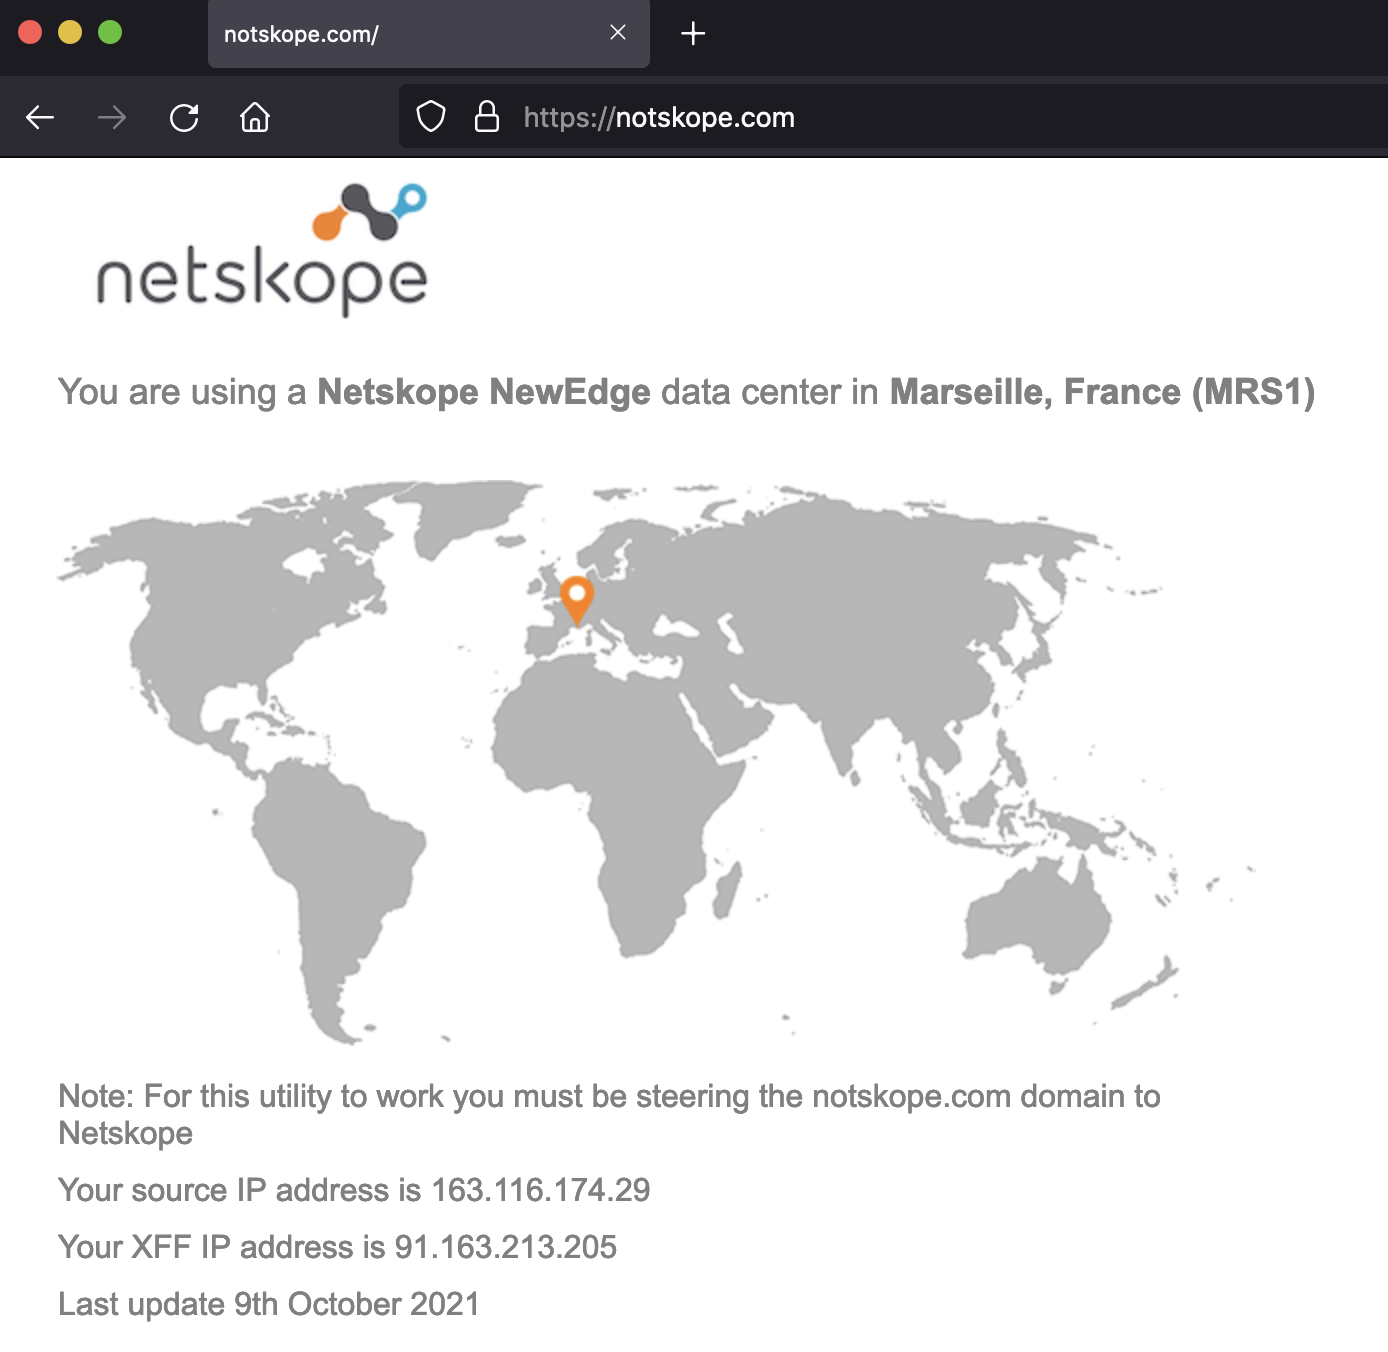
Have a look at your XFF IP address at the bottom. This has been added by Netskope proxy in your HTTP headers and indicates your originating IP address, while source IP indicates Netskope POP egress IP.

Please continue onto the next section.